Learn to Assess VMware VMs with Server Assessment
This tutorial will help you to Learn to Assess VMware VMs with Server Assessment. you will learn the following objectives through this tutorial –
- Set up an Azure Migrate project.
- Set up an Azure Migrate appliance that runs on-premises to assess VMs.
- Start continuous discovery of on-premises VMs. The appliance sends configuration and performance data for discovered VMs to Azure.
- Group discovered VMs, and assess the VM group.
- Review the assessment.
Set up an Azure Migrate project
Set up a new Azure Migrate project as follows:
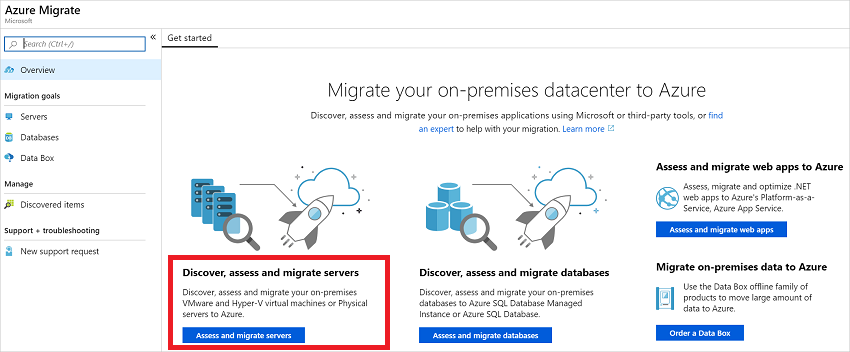
- In the Azure portal > All services, search for Azure Migrate.
- Under Services, select Azure Migrate.
- Also, In Overview, under Discover, assess and migrate servers, select Assess and migrate servers.
- In Getting started, select Add tools.
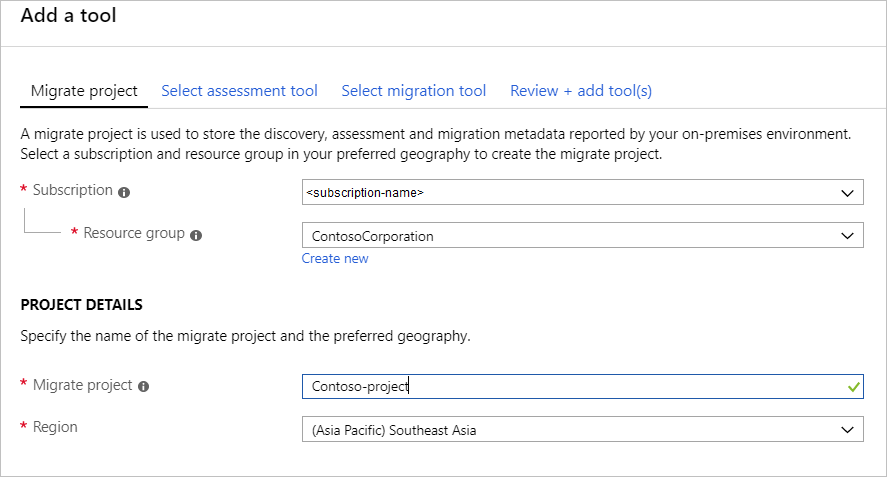
- Also, In Migrate project, select your Azure subscription, and create a resource group if you don’t have one.
- Furthermore, In Project Details, specify the project name and the geography in which you want to create the project. Review supported geographies for public and government clouds.
- Select Next.
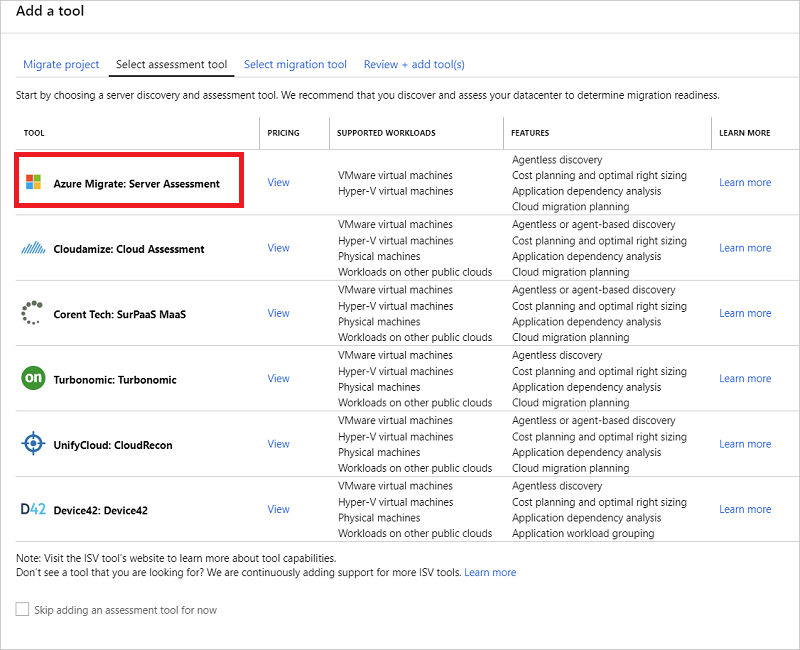
- Furhtermore, In Select assessment tool, select Azure Migrate: Server Assessment > Next.
- In Select migration tool, select Skip adding a migration tool for now > Next.
- Then, In Review + add tools, review the settings, and select Add tools.
- Wait a few minutes for the Azure Migrate project to deploy. You’ll be taken to the project page. If you don’t see the project, you can access it from Servers in the Azure Migrate dashboard.
Setting up the Azure Migrate appliance
Azure Migrate:Server Assessment uses a lightweight Azure Migrate appliance. The appliance performs VM discovery and sends VM metadata and performance data to Azure Migrate. The appliance can be set up in a number of ways.
- Set up on a VMware VM using a downloaded OVA template. This is the method used in this tutorial.
- Set up on a VMware VM or physical machine with a PowerShell installer script. This method should be used if you can’t set up a VM using an OVA template, or if you’re in Azure Government.
After creating the appliance, you check that it can connect to Azure Migrate:Server Assessment, configure it for the first time, and register it with the Azure Migrate project.
Registering the appliance with Azure Migrate
- Select Log In. If it doesn’t appear, make sure you’ve disabled the pop-up blocker in the browser.
- On the new tab, sign in by using your Azure username and password.Sign-in with a PIN isn’t supported.
- After you successfully sign in, go back to the web app.
- Select the subscription in which the Azure Migrate project was created, and then select the project.
- Specify a name for the appliance. The name should be alphanumeric with 14 characters or fewer.
- Select Register.
Starting continuous discovery
The appliance needs to connect to vCenter Server to discover the configuration and performance data of the VMs.
Specify vCenter Server details
- In Specify vCenter Server details, specify the name (FQDN) or IP address of the vCenter Server instance. You can leave the default port or specify a custom port on which vCenter Server listens.
- In User name and Password, specify the vCenter Server account credentials that the appliance will use to discover VMs on the vCenter Server instance.
- You should have set up an account with the required permissions in the previous tutorial.
- If you want to scope discovery to specific VMware objects (vCenter Server datacenters, clusters, a folder of clusters, hosts, a folder of hosts, or individual VMs.)
- Select Validate connection to make sure that the appliance can connect to vCenter Server.
- In Discover applications and dependencies on VMs, optionally click Add credentials, and specify the operating system for which the credentials are relevant, and the credentials username and password. Then click Add.
- You optionally add credentials here if you’ve created an account to use for the application discovery feature, or the agentless dependency analysis feature.
- If you’re not using these features, you can skip this setting.
- Review the credentials needed for app discovery, or for agentless analysis.
- Save and start discovery, to kick off VM discovery.
Discovery works as follows:
- It takes around 15 minutes for discovered VM metadata to appear in the portal.
- Discovery of installed applications, roles, and features takes some time. The duration depends on the number of VMs being discovered. For 500 VMs, it takes approximately one hour for the application inventory to appear in the Azure Migrate portal.
Verify VMs in the portal
After discovery, you can verify that the VMs appear in the Azure portal:
- Open the Azure Migrate dashboard.
- In Azure Migrate – Servers > Azure Migrate: Server Assessment, select the icon that displays the count for Discovered servers.
Run an assessment
Run an Azure VM assessment as follows:
- Review the best practices for creating assessments.
- On the Servers tab, in the Azure Migrate: Server Assessment tile, select Assess.
- In Assess servers, select the assessment type as “Azure VM”, select the discovery source and specify the assessment name.
- Select View all, and then review the assessment properties.
- Click next to Select machines to assess. In Select or create a group, select Create New, and specify a group name. A group gathers one or more VMs together for assessment.
- In Add machines to the group, select VMs to add to the group.
- Click next to Review + create assessment to review the assessment details.
- Select Create Assessment to create the group and run the assessment.
- After the assessment is created, view it in Servers > Azure Migrate: Server Assessment > Assessments.
- Select Export assessment to download it as an Excel file.
If you want to run an Azure VMware Solution (AVS) assessment, follow the steps mentioned here.
Reviewing an assessment
An assessment describes:
- Azure readiness: Whether VMs are suitable for migration to Azure.
- Monthly cost estimation: The estimated monthly compute and storage costs for running the VMs in Azure.
- Monthly storage cost estimation: Estimated costs for disk storage after migration.
To view an assessment:
- In Migration goals > Servers, select Assessments in Azure Migrate: Server Assessment.
- In Assessments, select an assessment to open it.

Reference documentation – Assess VMware VMs with Server Assessment