Learn to Add guest users to your directory in the Azure portal
This tutorial will help you to Learn to Add guest users to your directory in the Azure portal. You can invite anyone to collaborate with your organization by adding them to your directory as a guest user. Then you can either send an invitation email that contains a redemption link or send a direct link to an app you want to share. Guest users can sign in with their own work, school, or social identities.
Prerequisites
To complete the scenario in this tutorial, you need:
- A role that allows you to create users in your tenant directory, like the Global Administrator role or any of the limited administrator directory roles.
- A valid email account that you can add to your tenant directory, and that you can use to receive the test invitation email.
Add a new guest user in Azure AD
- Sign in to the Azure portal as an Azure AD administrator.
- In the left pane, select Azure Active Directory.
- Under Manage, select Users.

- Select New guest user.
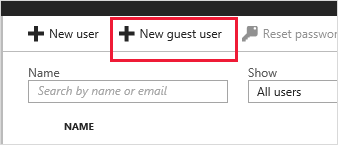
- On the New user page, select Invite user and then add the guest user’s information.
- Name. The first and last name of the guest user.
- Email address (required). The email address of the guest user.
- Personal message (optional) Include a personal welcome message to the guest user.
- Groups: You can add the guest user to one or more existing groups, or you can do it later.
- Directory role: If you require Azure AD administrative permissions for the user, you can add them to an Azure AD role.
- Select Invite to automatically send the invitation to the guest user. A notification appears in the upper right with the message Successfully invited user.
- After you send the invitation, the user account is automatically added to the directory as a guest.
Assign an app to the guest user
- Add the Salesforce app to your test tenant and assign the test guest user to the app.
- Sign in to the Azure portal as an Azure AD administrator.
- In the left pane, select Enterprise applications.
- Select New application.
- Under Add from the gallery, search for Salesforce, and then select it.
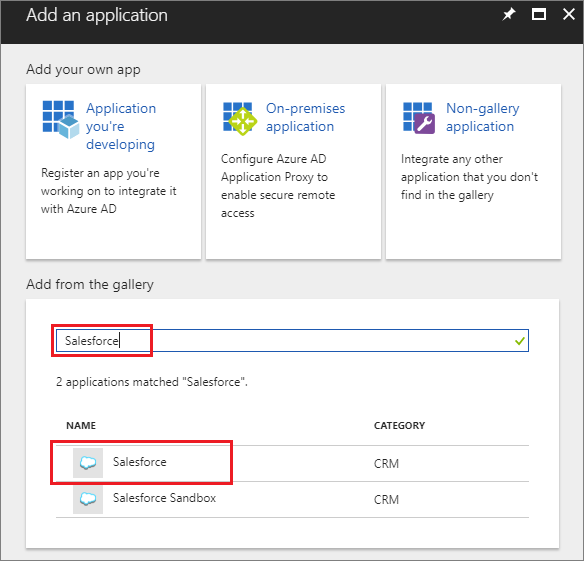
- Select Add.
- Under Manage, select Single sign-on, and under Single Sign-on Mode, select Password-based Sign-on, and click Save.
- Under Manage, select Users and groups > Add user > Users and groups.
- Use the search box to search for the test user (if necessary) and select the test user in the list. Then click Select.
- Select Assign.
Accept the invitation
- Now sign in as the guest user to see the invitation.
- Sign in to your test guest user’s email account.
- In your inbox, find the “You’re invited” email.
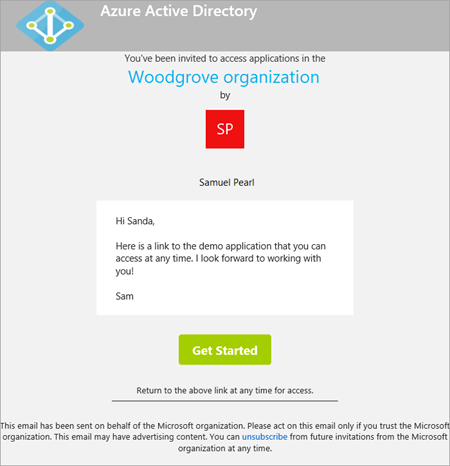
- In the email body, select Get Started. A Review permissions page opens in the browser.
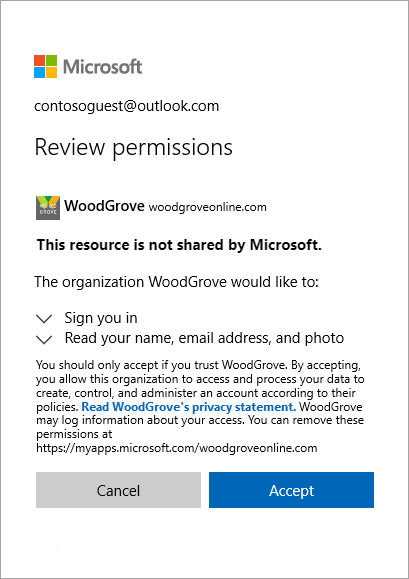
- Select Accept. The Access Panel opens, which lists the applications the guest user can access.
Clean up resources
- When no longer needed, delete the test guest user and the test app.
- Sign in to the Azure portal as an Azure AD administrator.
- In the left pane, select Azure Active Directory.
- Under Manage, select Enterprise applications.
- Open the application Salesforce, and then select Delete.
- In the left pane, select Azure Active Directory.
- Under Manage, select Users.
- Select the test user, and then select Delete user.

Reference documentation and image source – Quickstart: Add guest users to your directory in the Azure portal