How to Enable Update Management from the Azure portal
This tutorial explains how you can enable the Update Management feature for VMs by browsing the Azure portal. To enable Azure VMs at scale, you must enable an existing VM using Update Management.
The Resource Manager deployment restrictions limit the number of resource groups you may employ to manage your VMs. Resource Manager deployments are limited to five resource groups per deployment, not to be confused with Update deployments. The Log Analytics workspace, Automation account, and related resources are configured in two of these resource groups.
you will need –
- Azure subscription.
- Automation account to manage machines.
- A virtual machine.
Sign in to Azure
Firstly, Sign in to Azure.
Enable Update Management
- Subsequently, In the Azure portal, navigate to Virtual machines.
- Furthermore, Use the checkboxes to choose the VMs to add to Update Management. You can add machines for up to three different resource groups at a time. Azure VMs can exist in any region, no matter the location of your Automation account.
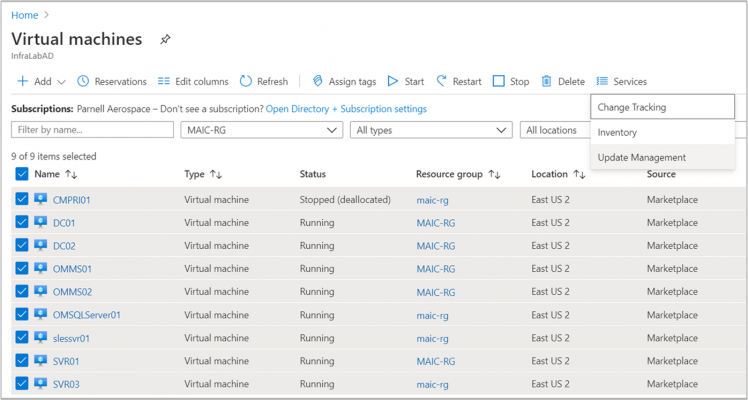
- Select Services and select Update Management for the Update Management feature.
- Also, The list of virtual machines is filtered to show only the virtual machines that are in the same subscription and location. Also, If your virtual machines are in more than three resource groups, the first three resource groups are selected.
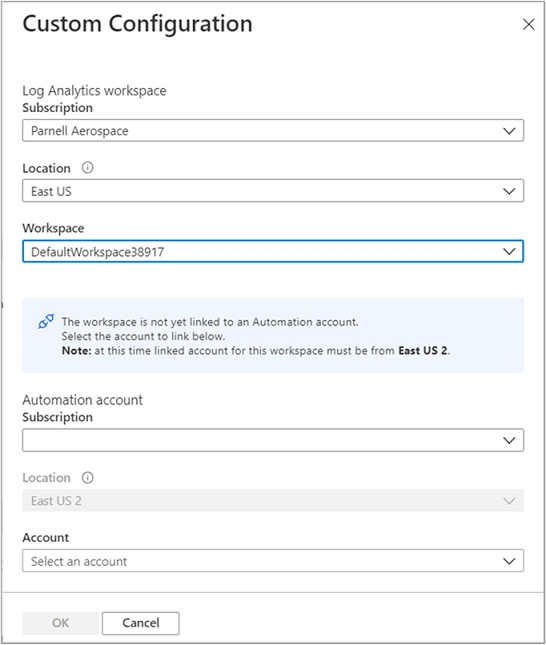
- Subsequently, An existing Log Analytics workspace and Automation account are selected by default. If you want to use a different Log Analytics workspace and Automation account, select CUSTOM to select them from the Custom Configuration page. Subsequently, When you choose a Log Analytics workspace, a check is made to determine if it is linked with an Automation account. If a linked Automation account is found, you see the following screen. When done, select OK.

Further steps
Furthermore, if the workspace selected is not linked to an Automation account, you see the following screen. When you’re finished, choose an Automation account and click OK.
- Deselect any virtual machine that you don’t want to enable. Also, VMs that can’t be enabled are already deselected.
- Select Enable to enable the feature. After you’ve enabled Update Management, it might take about 15 minutes before you can view the update assessment from them.

Reference documentation – Enable Update Management from the Azure portal