Create an Azure Cosmos account
In this we will learn about how to use the Azure portal to create an Azure Cosmos DB SQL API account, create a document database, and container, and add data to the container. However, Azure Cosmos DB is Microsoft’s globally distributed multi-model database service. You can use Azure Cosmos DB to quickly create and query key/value databases, document databases, and graph databases.
Create an Azure Cosmos DB account
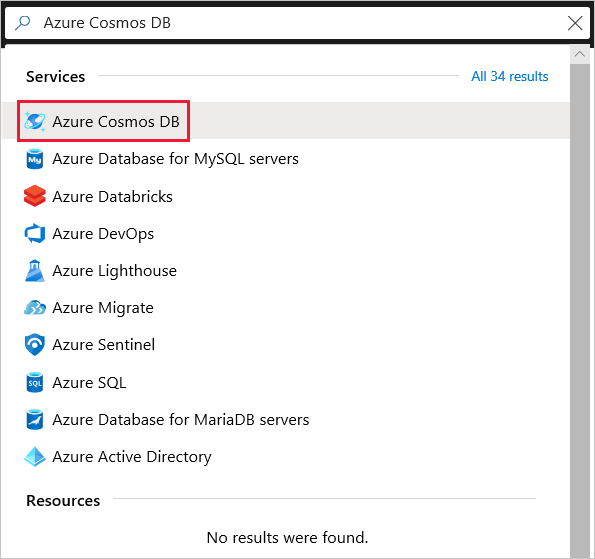
Go to the Azure portal to create an Azure Cosmos DB account. Search for and select Azure Cosmos DB.
- Firstly, select Add.
- Secondly, on the Create Azure Cosmos DB Account page, enter the basic settings for the new Azure Cosmos account.
- Thirdly, select Review + create. You can skip the Network and Tags sections.
- Then, review the account settings, and then select Create. It takes a few minutes to create the account. Wait for the portal page to display Your deployment is complete.
- Lastly, select Go to resource to go to the Azure Cosmos DB account page.
Add a database and a container
You can use the Data Explorer in the Azure portal to create a database and container.
- Firstly, select Data Explorer from the left navigation on your Azure Cosmos DB account page, and then select New Container.
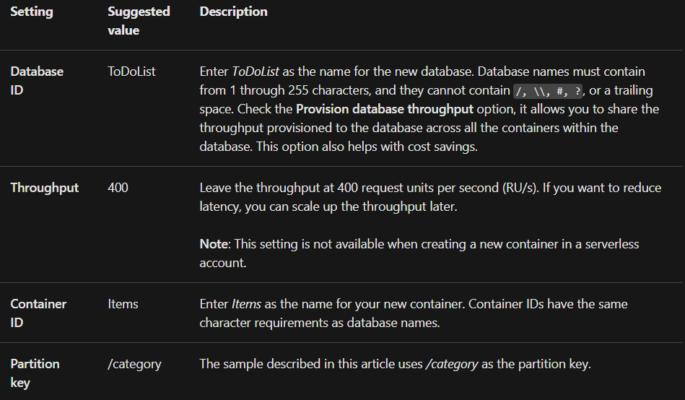
- Secondly, in the Add container pane, enter the settings for the new container.
- Lastly, select ok. The Data Explorer displays the new database and the container that you created.

Add data to your database
Add data to your new database using Data Explorer.
- Firstly, in Data Explorer, expand the ToDoList database, and expand the Items container. Next, select Items, and then select New Item.
- Secondly, add the following structure to the document on the right side of the Documents pane:
JSON
{
“id”: “1”,
“category”: “personal”,
“name”: “groceries”,
“description”: “Pick up apples and strawberries.”,
“isComplete”: false
}
- Then, select Save.
- Lastly, select New Document again, and create and save another document with a unique id, and any other properties and values you want.
Query your data
You can use queries in Data Explorer to retrieve and filter your data.
- Firstly, at the top of the Items tab in Data Explorer, review the default query SELECT * FROM c. This query retrieves and displays all documents from the container ordered by ID.
- Secondly, to change the query, select Edit Filter, replace the default query with ORDER BY c._ts DESC, and then select Apply Filter.
The modified query displays the documents in descending order based on their time stamp, so now your second document is listed first.
However, if you’re familiar with SQL syntax, you can enter any supported SQL queries in the query predicate box. You can also use Data Explorer to create stored procedures, UDFs, and triggers for server-side business logic. As data explorer provides easy Azure portal access to all of the built-in programmatic data access features available in the APIs.
Clean up resources
When you’re done with your app and Azure Cosmos DB account, you can delete the Azure resources you created so you don’t incur more charges. To delete the resources:
- Firstly, in the Azure portal Search bar, search for and select Resource groups.
- Secondly, from the list, select the resource group you created for this quickstart.
- Thirdly, on the resource group Overview page, select Delete resource group.
- Lastly, in the next window, enter the name of the resource group to delete, and then select Delete.

Reference: Microsoft Documentation