Configure Network Security Groups (NSGs)
In this tutorial, we will learn about network security groups, see Network security group overview. But, before we begin, if you don’t have one, set up an Azure account with an active subscription. Create an account for free. Complete one of these tasks before starting the remainder of this tutorial:
- Portal users: This means to sign in to the Azure portal using Azure account.
- PowerShell users: This states either run the commands in the Azure Cloud Shell, or run PowerShell from your computer.
- Azure Command-line interface (CLI) users: This means to either run the commands in the Azure Cloud Shell, or run the CLI from your computer.
Working with network security groups
You can create, view all, view details of, change, and delete a network security group. Moreover, you can also associate or dissociate a network security group from a network interface or subnet.
Creating a network security group
- Firstly, on the Azure portal menu or from the Home page, select Create a resource.
- Secondly, select Networking, then select Network security group.
- Then, in the Create network security group page, under the Basics tab, set values for the following settings:
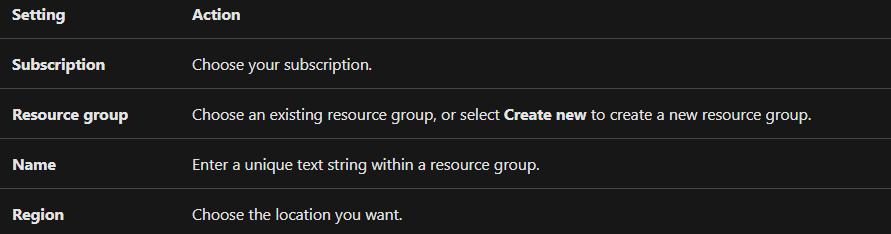
- After that, select Review + create.
- Lastly, after validating the passed message, select Create.
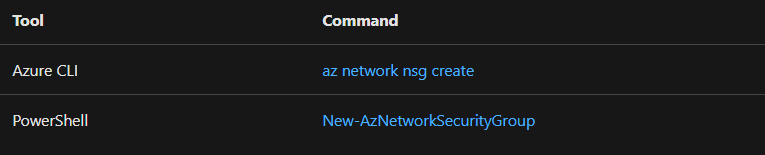
Commands
Changing a network security group
- Firstly, go to the Azure portal to view your network security groups. Search for and select Network security groups.
- Then, select the name of the network security group you want to change.

However, in this the most common changes are to add a security rule, remove a rule, and associate or dissociate a network security group to or from a subnet or network interface.
Commands

Deleting a network security group
If a network security group is associated with any subnets or network interfaces, then it can’t be deleted. So, before deleting first, dissociate a network security group from all subnets and network interfaces.
- For deleting, firstly, go to the Azure portal to view your network security groups. Search for and select Network security groups.
- Then, select the name of the network security group you want to delete.
- Lastly, in the network security group’s toolbar, select Delete. Then select Yes in the confirmation dialog box.
Commands


Reference: Microsoft Documentation