Access management solution with RBAC policies and access reviews
In this tutorial, we will learn about giving access for users at resource groups and the process of removing access. Moreover, we will understand about managing user access with Azure AD access review.
Granting a user access to Azure resources using the Azure portal
Azure role-based access control ( RBAC) is the way that you manage access to Azure resources. In this, you learn about granting a user access for creating and managing virtual machines in a resource group.
Creating a resource group
- Firstly, in the navigation list, click on Resource groups.
- Then, click Add to open the Resource group blade.
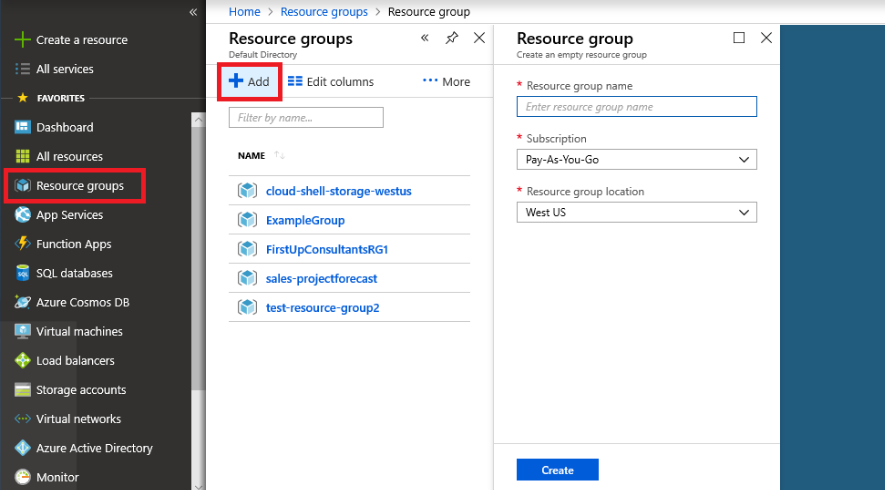
- After that, for Resource group name, enter RBAC-resource-group.
- Then, select a subscription and a location.
- Then, click Create. This will create a resource group.
- Lastly, click Refresh to refresh the list of resource groups.
Granting access
- For granting access in Azure RBAC, first create a role assignment.
- Then, in the list of Resource groups, click the new rbac-resource-group resource group.
- After that, Click Access control (IAM).
- Fourthly, click the Role assignments tab to see the current list of role assignments.
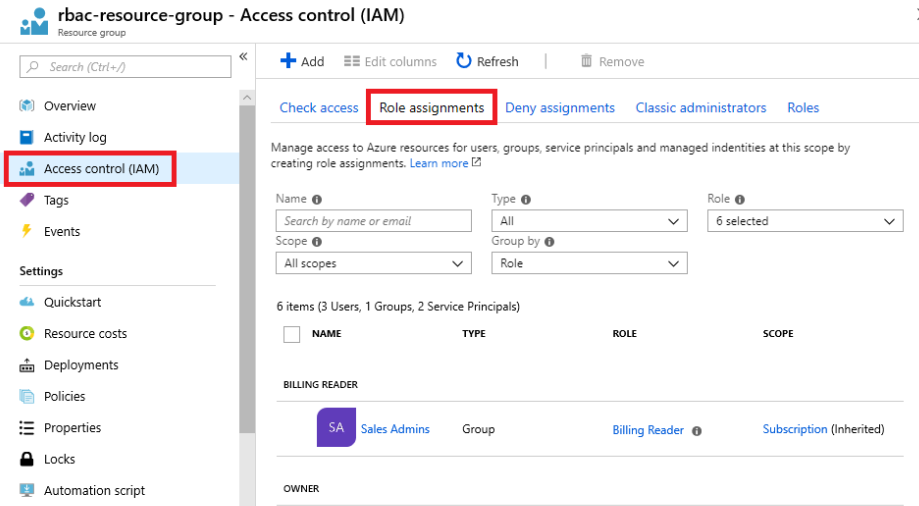
- Then, click Add > Add role assignment for opening the Add role assignment pane. However, if you don’t have permission to assign roles, the Add role assignment option will be disabled.
- After that, in the Role drop-down list, select Virtual Machine Contributor.
- Lastly, in the Select list, select yourself or another user and click Save to create the role assignment.
Removing access
- For removing access in Azure RBAC, first remove a role assignment.
- After that, click Remove.
- Lastly, in the remove role assignment message that appears, click Yes.

Cleaning up
- Firstly, in the navigation list, click Resource groups.
- Then, click rbac-resource-group for opening the resource group.
- After that, click Delete resource group to delete the resource group. However, if you are sure you want to delete the blade, type the resource group name: rbac-resource-group.
- Lastly, click Delete to delete the resource group.
Managing user access with Azure AD access reviews
Using Azure Active Directory (Azure AD), it becomes easy to ensure that users have appropriate access. However, you can ask the users themselves or a decision maker to participate in an access review and recertify to users’ access. In this, the reviewers can give their input on each user’s need for continued access based on suggestions from Azure AD. And, when an access review is finished, you can then make changes and remove access from users who no longer need it.
Creating and performing an access review
- Firstly, select a group in Azure AD that has one or more members or an application connected to Azure AD that has one or more users assigned to it.
- Secondly, decide whether to have each user review their own access or to have one or more users review everyone’s access.
- Then, create an access review.
- After that, when the access review starts, ask the reviewers to give input. However, by default, they each receive an email from Azure AD with a link to the access panel, where they review access to groups or applications.
- And, if the reviewers haven’t given input, you can ask Azure AD to send them a reminder. By default, Azure AD automatically sends a reminder halfway to the end date to reviewers who haven’t yet responded.
- Lastly, the reviewers give input, stop the access review, and apply the changes.

Reference: Microsoft Documentation, Documentation 2