Configure Azure Files
Creating an Azure File Share
In order to create an Azure file share, we must use a Storage Account that already exists, or create a new Azure Storage Account. For creating an Azure file share with PowerShell, it is required to have the account key and name of the storage account. Note – We would need a Storage account key if using Powershell or the CLI.
Steps to create a file share through the Azure Portal
Step 1 – Go to the Storage Account blade on the Azure portal
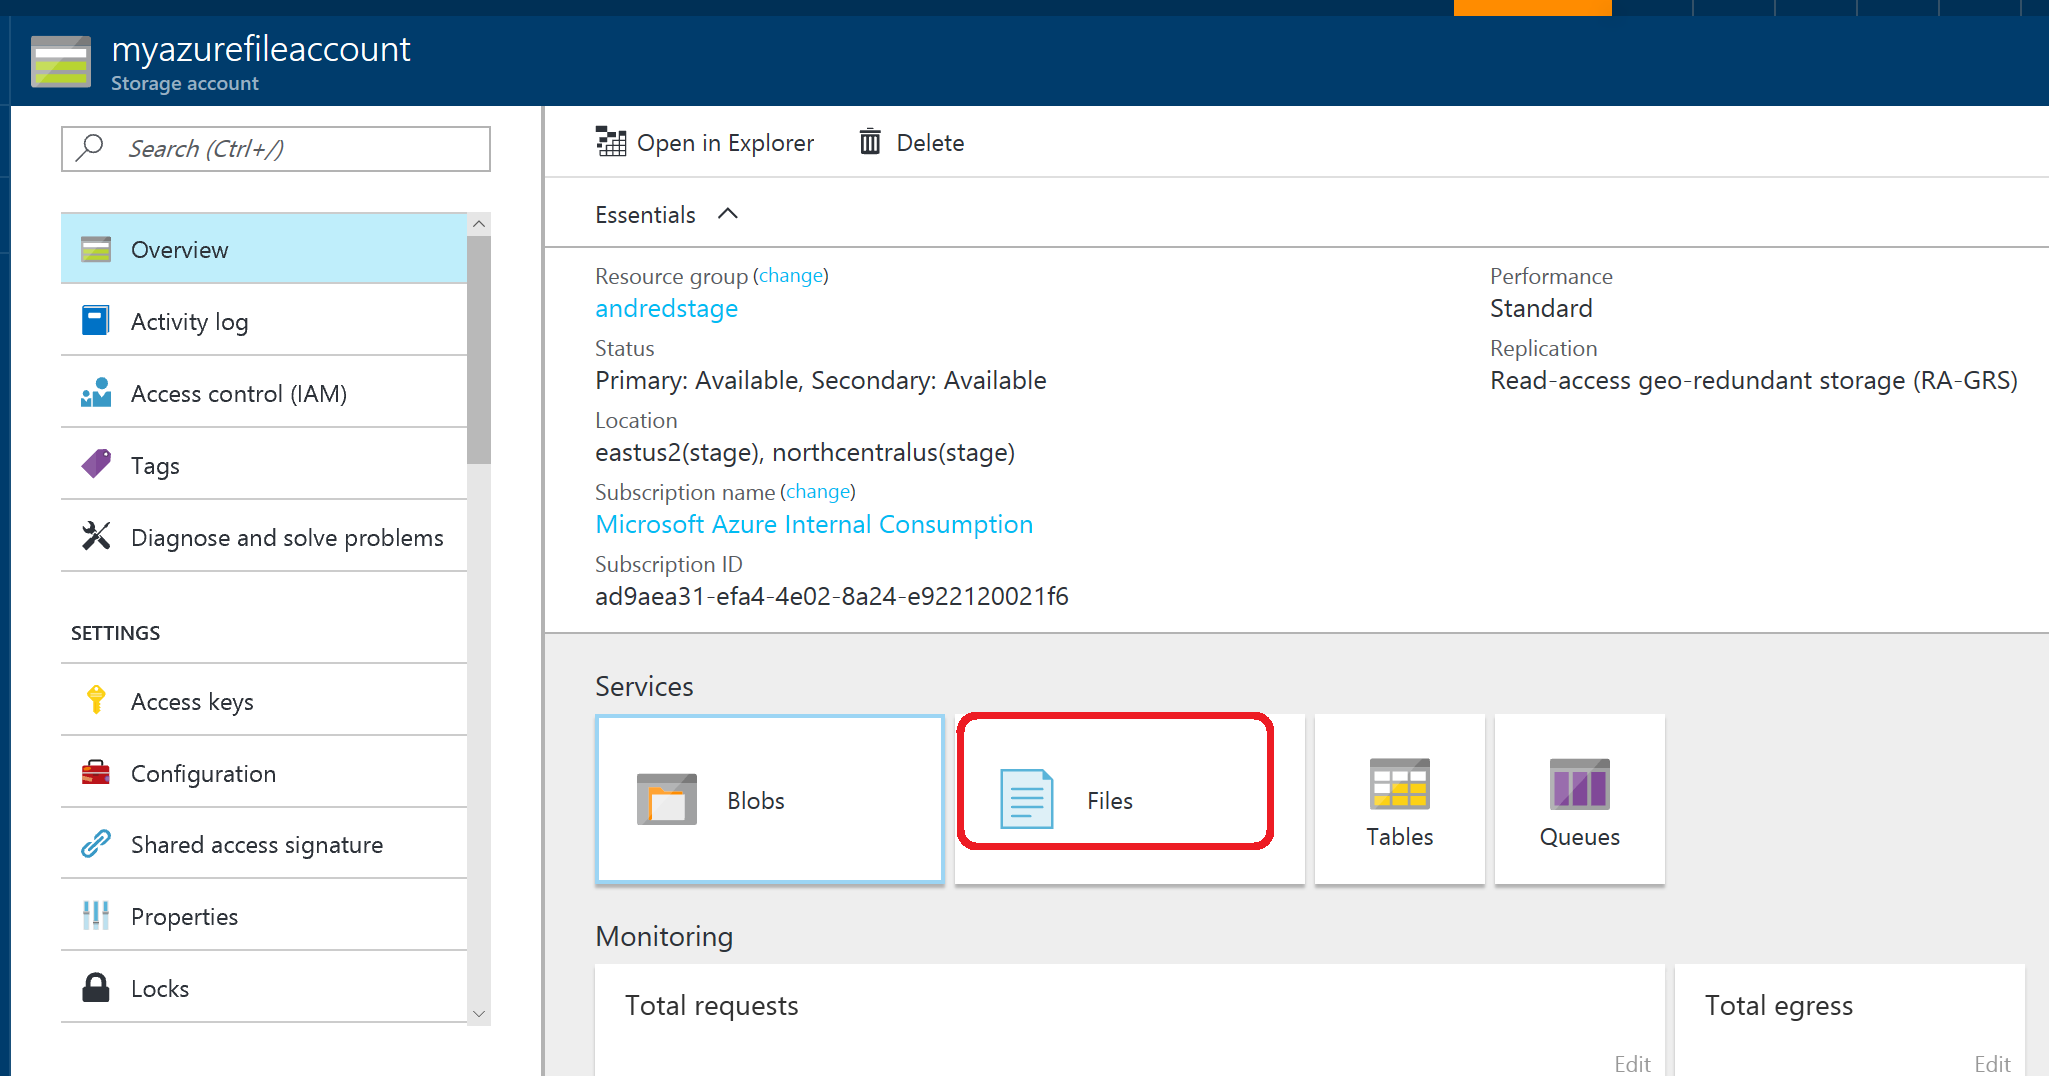
Step 2 – Click on add File Share button

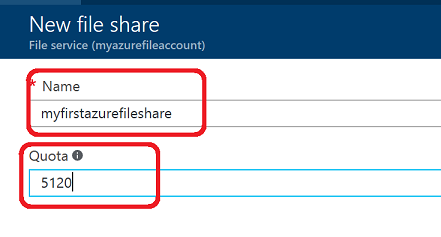
Step 3 – Provide Name and Quota. The Quota’s current maximum value is 5 TiB
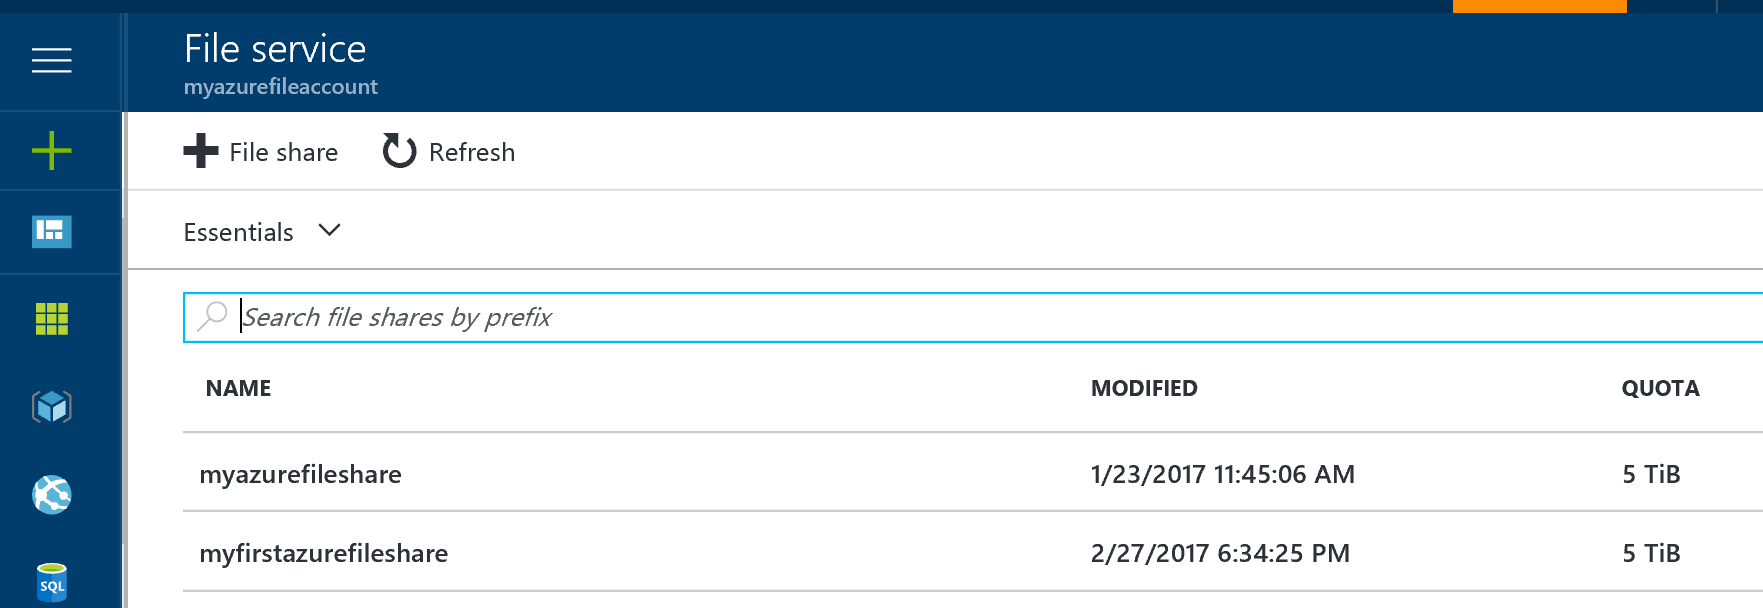
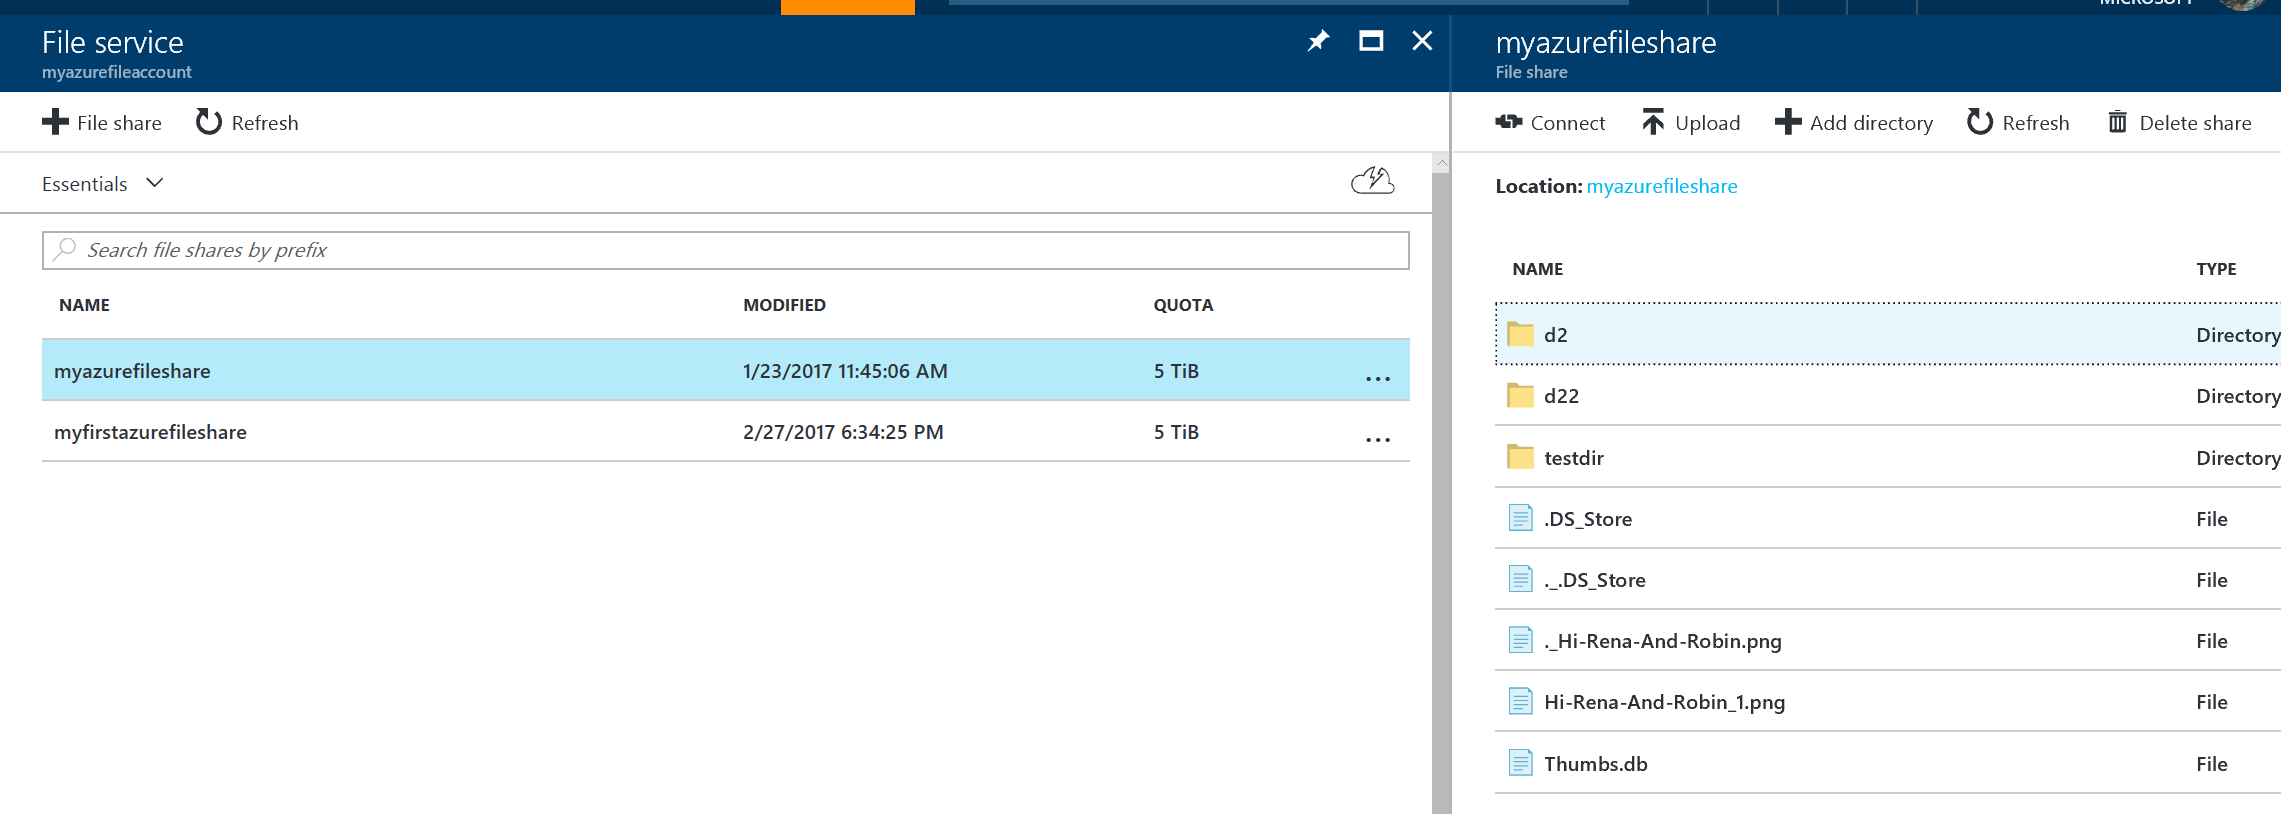
Step 4 – View your new file share
Step 5 – Upload a file
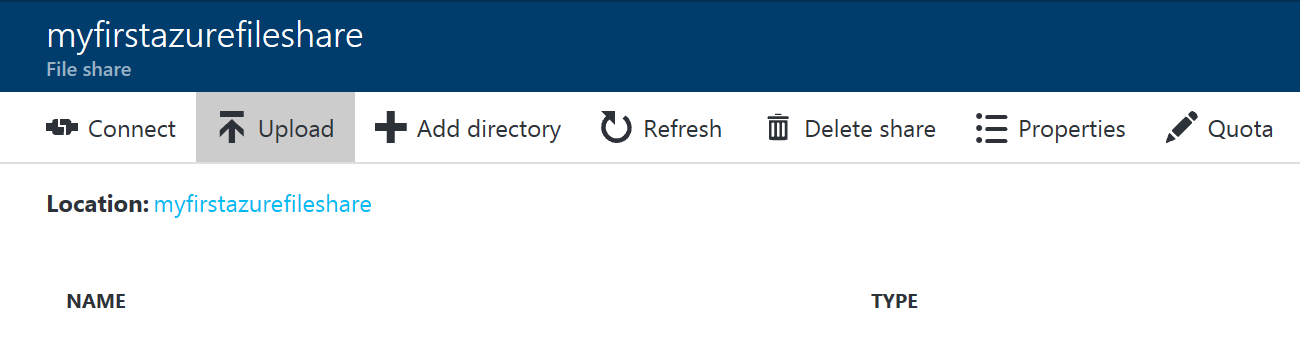
Step 6 – Browse into your file share and manage your directories and files
Creating Azure File Sync Service
In order to centralize the organization’s file shares in Azure Files, it is suggested to use Azure File Sync, while keeping the flexibility, performance, and compatibility of an on-premises file server. The process of Azure File Sync, transforms Windows Server into a quick cache of the Azure file share. We can use any protocol that’s available on Windows Server to access the data locally, including SMB, NFS, and FTPS.
Prerequisites to create Azure File Sync Service
- Azure file share should be in the same region that we want to deploy Azure File Sync.
- There should be at least one supported instance of Windows Server or Windows Server cluster to sync with Azure File Sync.
- Az PowerShell module should be used with either PowerShell 5.1 or PowerShell 6+. We may use the Az PowerShell module for Azure File Sync on any supported system, including non-Windows systems, however the server registration cmdlet must always be run on the Windows Server instance we are registering (this can be done directly or via PowerShell remoting).
How to prepare Windows Server to use with Azure File Sync?
Each server intended for use with Azure File Sync, including each server node in a Failover Cluster, it is required to disable Internet Explorer Enhanced Security Configuration. Note – This is required only for initial server registration. Such that it can be re-enabled after the server has been registered.
Steps to prepare windows server to use Azure File Sync
Step 1 – Open Server Manager
Step 2 – Click Local Server
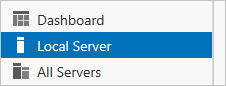
Step 4 – On the Properties subpane, select the link for IE Enhanced Security Configuration.

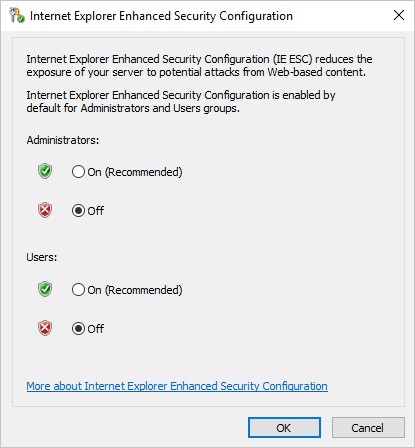
Step 4 – In the Internet Explorer Enhanced Security Configuration dialog box, select Off for Administrators and Users:
How to Deploy the Storage Sync Service?
In order to deploy a Storage Sync Service, it is suggested to go to the Azure portal, click Create a resource and then search for Azure File Sync. In the search results, select Azure File Sync, and then select Create to open the Deploy Storage Sync tab.
Where on the pane that opens, the following information is required to be filled –
- Name
- Subscription
- Resource group
- Location
Once we are finished, select Create to deploy the Storage Sync Service.
Create Azure sync Group
Important Terminologies
- Sync Group – Sync group defines the sync topology for a set of files such that endpoints within a sync group are kept in sync with each other. Also a sync group must contain one cloud endpoint, that represents an Azure file share and one or more server endpoints.
- Server endpoint – A server endpoint defines a path on a registered server such that a server can have server endpoints in multiple sync groups. Also we can create as many sync groups as we may need to appropriately describe desired sync topology.
- Cloud endpoint – A cloud endpoint is defined as a pointer to an Azure file share. Such that all server endpoints will sync with a cloud endpoint, making the cloud endpoint the hub. The storage account for the Azure file share must be located in the same region as the Storage Sync Service.
For creating a sync group, in the Azure portal, it is suggested that we go to Storage Sync Service, and then select + Sync group. In the pane that opens, enter the following information to create a sync group with a cloud endpoint – Sync group name, Subscription, Storage account and Azure file share.
Troubleshoot Azure File Sync
We shall now focus to help troubleshoot and resolve issues that might encounter with Azure File Sync deployment. We shall also discuss how to collect important logs from the system if a deeper investigation of the issue is required.
Agent installation and Server Registration
How to Troubleshoot agent installation failures?
If the Azure File Sync agent installation fails, at an elevated command prompt, run the following command to turn on logging during agent installation –
StorageSyncAgent.msi /l*v AFSInstaller.log
Review installer.log to determine the cause of the installation failure.
Agent installation fails on Active Directory Domain Controller
If we try to install the sync agent on an Active Directory domain controller where the PDC role owner is on a Windows Server 2008 R2 or below OS version, we may hit the issue where the sync agent will fail to install.
For resolving, transfer the PDC role to another domain controller running Windows Server 2012 R2 or more recent, then install sync.
Server Registration displays the following message: “Pre-requisites are missing”. Following message appears if Az or AzureRM PowerShell module is not installed on PowerShell 5.1.
Server not listed under registered servers in the Azure portal
If a server is not listed under Registered servers for a Storage Sync Service –
- Sign in to the server that we wish to register.
- Open File Explorer, and then go to the Storage Sync Agent installation directory (the default location is C:\Program Files\Azure\StorageSyncAgent).
- Run ServerRegistration.exe, and complete the wizard to register the server with a Storage Sync Service.
How to determine whether user account role has the required permissions?
- In the Azure portal, select Resource groups.
- Select the resource group where the storage account is located, and then select Access control (IAM).
- Select the Role assignments tab.
- Select the Role (for example, Owner or Contributor) for your user account.
- In the Resource Provider list, select Microsoft Authorization – Role assignment should have Read and Write permissions and Role definition should have Read and Write permissions.